1. Prepare the garden curbing areas.
We remove all the old plastic, rubber, wood, brick or stone edging free of charge. We cut a 10" wide sod strip around your new or existing gardens and take the sod with us or leave some for you to touch up areas of your yard with! Finally we put a sand base down and tamp the areas firmly to prepare for the concrete curbing!
2. Mix our concrete "batches."
We screen all of our sand to ensure your curb has proper aggregates. We integrally dye all of our concrete with powder color and also throw in industry specific additives such as fiber reinforcement mesh, efflorescence protection, mason sand, and portland cement. We measure the water for each mix to guarantee a consistent mix every time!
|
|
|
|
3. Extrude the concrete curbing.
We fill the hopper of the curb machine with the concrete batch and let the extrusion process begin. Our machine operators are fully trained and experienced to give your yard perfectly curved landscapes.
4. Smooth trowel the concrete curbing.
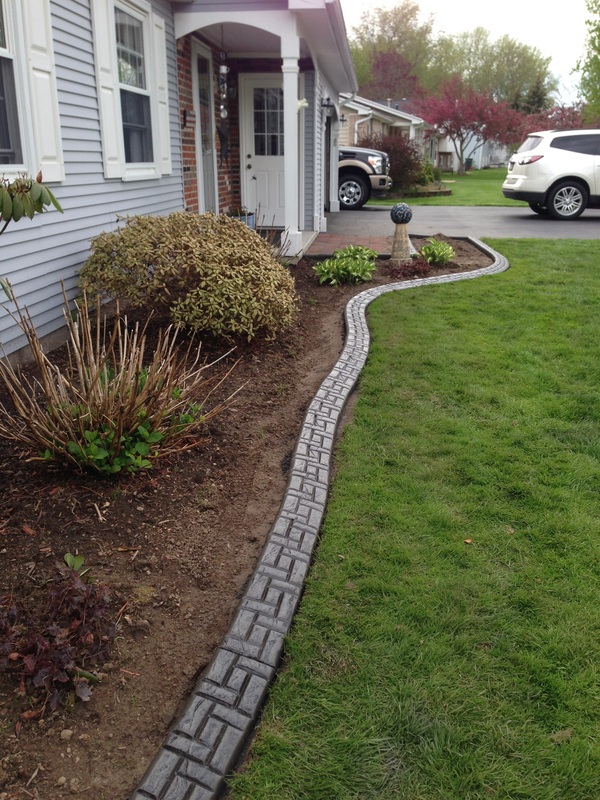
We use a special curb solution to wet the landscape edging and give it a nice smooth finished design. In some cases, our customer may want to leave a smooth finish on the curbing but in most cases we stamp our designs. Each design is "hand-stamped" and gives a much deeper impression than a "roller" or "texture" pattern, making it much more noticeable from the road.
5. Add textures and release joint cuts.
We dip our texture rollers in release powders which give the final color to the designs and stamps. Then we score release cuts that go right down to the cable at the center of the curbing so weeds and grass don't grow in between!
|
|
|
6. Clean-up and seal the new curbing!
We always do our best to clean up and leftover concrete, blow off the messy areas of the yard and finish your curbing with an expensive acrylic concrete sealer. No coming back a week later to finish the job, we are in and out in 1 day or less!


